The Product Purchase History for Magento 2 extension can be installed manually by uploading files directly to your server. This method is ideal for stores where Composer installation is not available or when deploying modules manually.
This guide will walk you through the full installation process step by step.
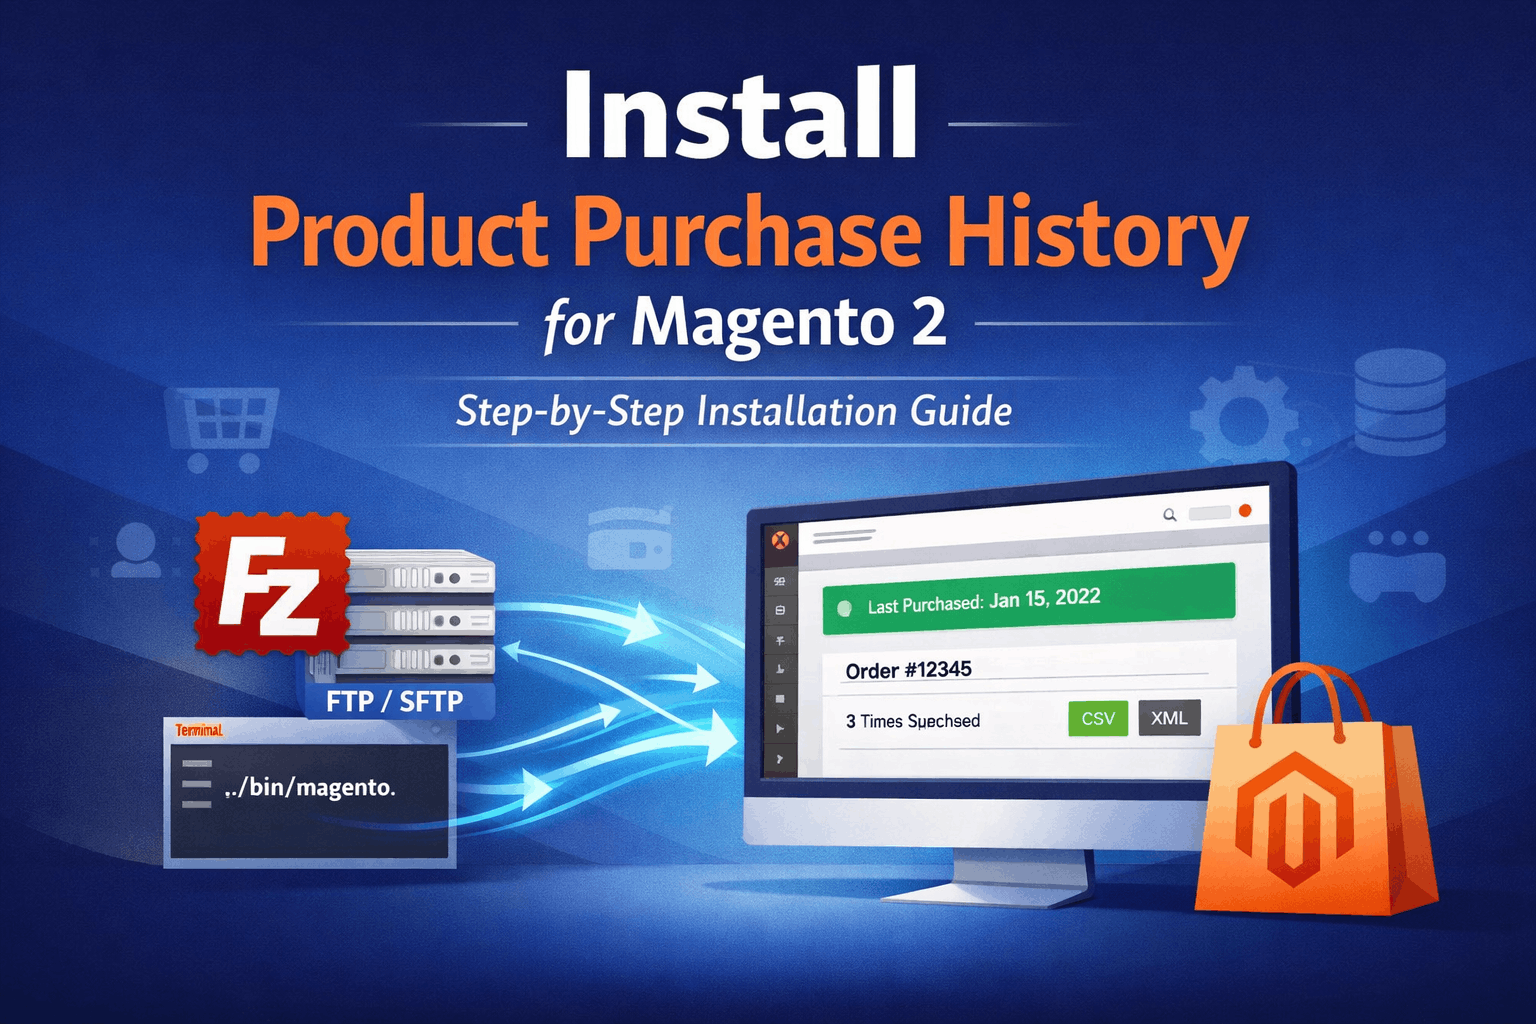
Step 1 - Prepare for Installation
Before installing the module, ensure that:
-
You have access to your server via FTP or SFTP
-
FileZilla is installed on your computer
-
SSH access is available for running Magento commands
-
Magento files and database are backed up (recommended)
Step 2 - Connect to the Server with FileZilla
-
Open FileZilla
-
Enter your server details:
-
Host (server IP or domain)
-
Username
-
Password
-
Port (22 for SFTP recommended)
-
Click Quickconnect
Once connected:
-
Left panel > your local computer files
-
Right panel > server files
Step 3 - Locate Magento Root Directory
Navigate to your Magento installation folder. Typical paths:
/var/www/html//home/username/public_html/You should see Magento folders such as: app, bin, pub, vendor, generated
If these folders are visible, you are in the correct location.
Step 4 - Upload Product Purchase History Module
-
Extract the module package on your computer. Please note that all extensions come with the Eleventex/Base module.
-
Using FileZilla, upload the app folder to your Magento root directory.
Final structure must look like: app/code/Eleventex/ProductPurchaseHistory and app/code/Eleventex/Base
During upload:
-
Select Merge if prompted
-
Do not remove existing Magento files
Step 5 - Run Magento Installation Commands
After the upload is complete, connect to your server using SSH and execute: cd /path/to/magentophp bin/magento setup:upgradephp bin/magento setup:di:compilephp bin/magento setup:static-content:deploy -f -j4php bin/magento cache:flush
These commands will register the module and deploy required assets.
Step 6 - Verify Installation
Log in to Magento Admin Panel and navigate to:
Stores > Configuration > Eleventex > Product Purchase History
If settings are visible - the extension is successfully installed.
Troubleshooting Tips - Module not visible
Run: php bin/magento module:status | grep Eleventex
Cache issue: php bin/magento cache:flush
Static files issues:
rm -rf pub/static/frontend/* var/view_preprocessed/*php bin/magento setup:static-content:deploy -fFinal Notes
The Product Purchase History for Magento 2 extension is designed to enhance the customer shopping experience by providing purchase context directly on the storefront and improving repeat ordering workflows.
For best practice:
-
Install first on staging environment
-
Use SFTP instead of FTP
-
Always keep backups before installing modules